

Confession: I've never sharpened my knives. Not my two-year-old IKEA chef's knife, not my who-knows-how-old paring knife. None of 'em. But last week, I found myself on the New York City subway with a purse-full of my dullest kitchen knives and the promise that these glorified pestles they could still be saved.

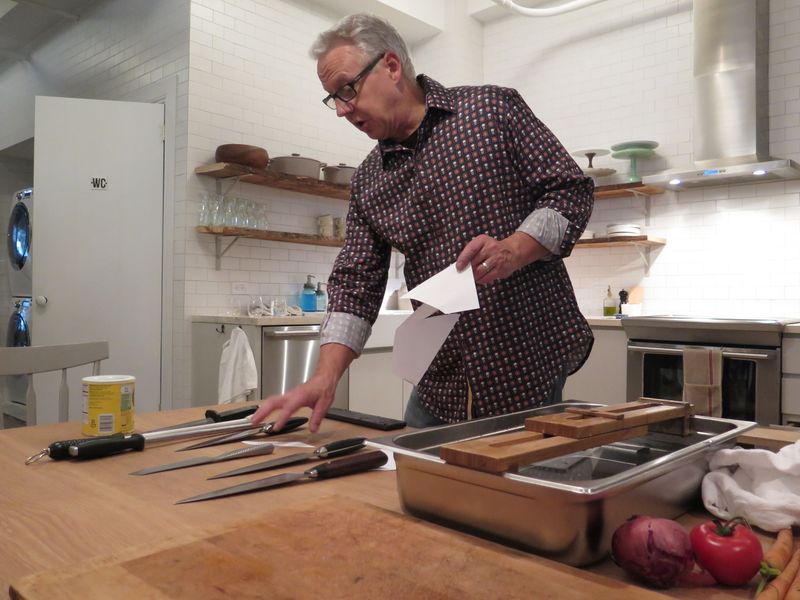
When Bob Kramer, a legendary knife guru and one of fewer than 200 people in the world to be certified as a Master Bladesmith, arrived at our office that same day for a sharpening tutorial, he came with a bag of tricks. In our team kitchen, he laid out his go-to tools for knife care: Japanese sharpening stones secured over bins of water, a honing steel, a stack of paper, and a kitchen scale.
Here are 9 of our favorite tips he shared for better, healthier, more efficient kitchen knives:
1. The best way to test your knife is with a piece of paper.
If you're wondering whether you should sharpen your knives—which Bob suggests doing roughly three times a year—cutting through a piece of paper is the best way to find out if they really need to be. "What I'm looking for is a razor edge," Bob said, holding a knife with one hand and a piece of paper in the other. "Just as a razor that encounters hair splits it easily, a knife should cleanly cut whatever it encounters." His knife slid cleanly, straight through the piece of paper.
To do this yourself:
Hold a piece of paper by its edge with your non-dominant hand. With the hand you usually use to hold knives, set the blade of your knife at the top of the piece of paper and press it directly down. Here's what the resulting cut indicates:
-
If the knife cleanly cuts through the paper and barely makes a sound, it's perfectly honed and sharpened.
ADVERTISING
- If it cuts the paper, but makes a slight tearing noise as it does, it could use a little honing.
- If your knife won't cut the paper at all by simply pressing down, cut the paper back and forth in a sawing motion. If this makes a cut, your knife is likely sharp but needs to be honed.
- If the knife won't cut the paper at all, it needs to be sharpened and honed.
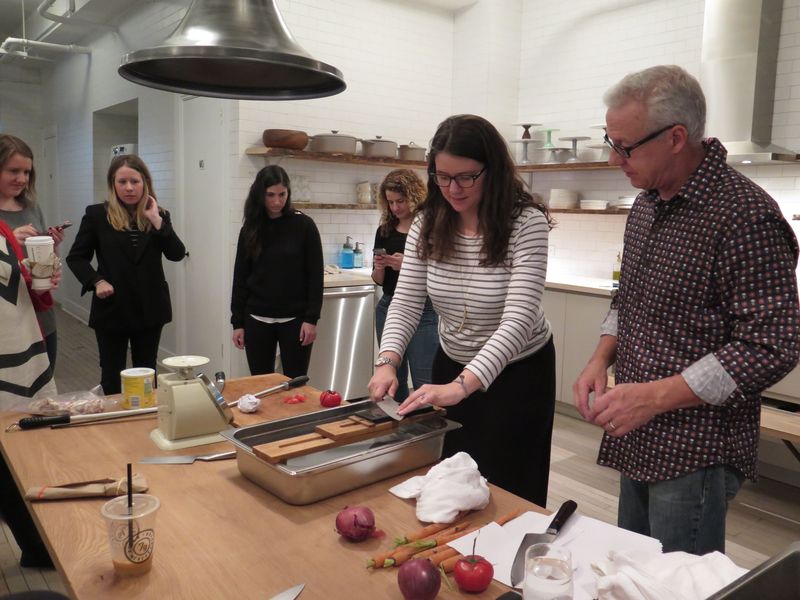
2. If you've never sharpened a knife before, start with a paring knife.
Bob recommends starting with an 8- to 10-inch plastic paring knife, which will be lighter and smaller and therefore easier to manage than a chefs knife. Also, when you're starting out, try to avoid using knives that have bolsters(the curved, metal part of the knife that joins the blade and handle) which can catch on the whetstone during hand-sharpening.
Bob Kramer shows our Assistant Editor, Caroline Lange, how to sharpen knives by hand for the first time.
3. It's almost impossible to do irreparable damage to your knife on a whetstone, even if you're a total novice.
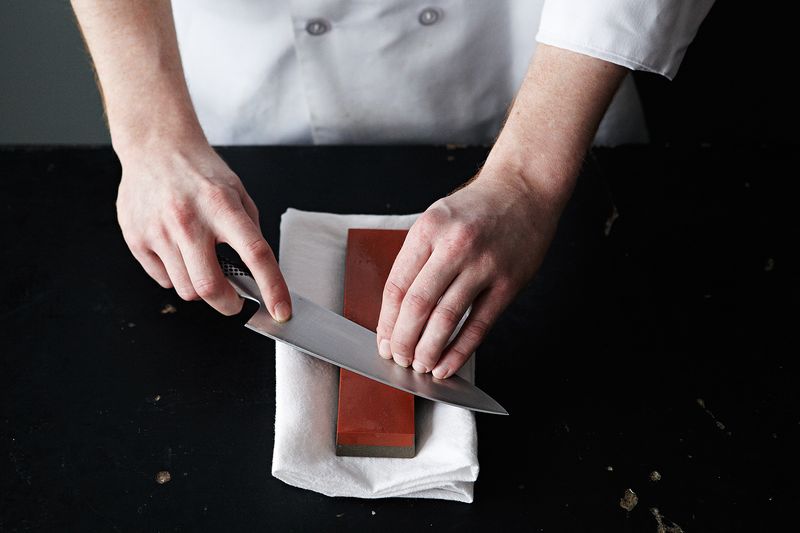
At one point, Bob did the unthinkable and sawed the blade of a beautiful, high-end knife back and forth directly across a whetstone stone so that the knife could barely cut at all. But with just a few swift correct strokes on the sharpening stone (the blade angled 15-20º with balanced pressure applied in a steady arcing motion) he was able to have the knife back to working order. "The most damage you can do is running your knife too flat along the stone and scratching the side, which might bum you out but functionally, your knife will still be fine," he explained.
4. Honing your knife is as important (if not more!) than sharpening.
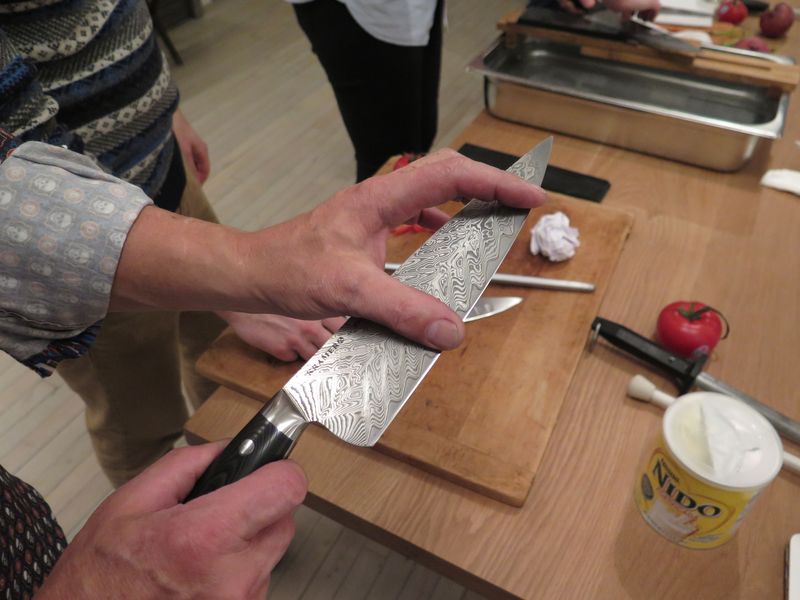
Just because a knife isn't cutting cleanly doesn't mean it isn't sharp; it might just be out of alignment, or the sharp edge is rolled over. The best tool to test whether your knife is "rolled"—which happens when a knife goes over a hard surface, like a serving platter or a pan, bending the sharp edge slightly over to one side—is your thumb.
"Slide your thumb along the side of the edge," Bob said, "and you'll be able to feel the rolled edge, if there is one." To fix a rolled edge, use a honing steel. Bob recommends using steels made in Germany or Japan, or those made in Sheffield, England, which has a strong tradition of knife making.
Not sure how to use a honing steel? Click here for a step-by-step instructions..
5. When sharpening, apply more pressure than you think you need.
A lack of adequate applied pressure, Bob said, is one of the most common mistakes he sees in knife sharpening. To make sure you're applying the correct amount of pressure (four to six pounds for a relatively in-shape knife, eight pounds for an extremely dull blade), press down on a kitchen scale until it reads the correct weight, then apply this same amount of pressure to your knife on the sharpening stone.
6. Whetstones are not one-type-fits-all.
Whetstones come in a number of gradients, or coarseness. Lower grits, around #400, have a more textured surface area and can be used to reshape knives and repair chips—they shave off the most material. Higher grits, like #1000 are best for polishing and basic sharpening—if you're only going to buy one stone, this would be it. And the highest grade stones, around #8000 are used for smoothing and polishing your edge.
When sharpening knives, it's best to use multiple whetstones if possible, and work up from higher (lower numbers) to lower coarseness (higher numbers), in the same way you might use rough sandpaper to smooth out wood, then slightly finer paper to polish it. Strops, or pieces of leather are also sometimes used (think old-fashioned barbers) to give a very fine polish to a blade's edge.
7. The angle at which you sharpen your knife matters.
Expert knife sharpeners use specific degrees for specific tasks: "If you're splitting chickens all the time, 20° per side will give you more strength. If you're cutting cucumbers, go for 10° per side will make it really slick and efficient," Bob said. But if you're just starting out, Bob recommends 10° to 15°. If you aren't sure what this looks like, lay your knife on the sharpening stone and place a matchbook under the blade, then remove the matchbook and keep the angle; this is about 15°.
8. Having good cutting technique is essential for knife maintenance.
"You never want to run your blade across the board sideways," Bob said, which can roll the edge and make it duller faster. When chopping on a cutting board, be careful not to use your knife to slide the thing you are chopping into a pile, or to use your knife to brush it off into a pan. That's what your hands are for.

9. Even the lowest quality knives benefit from being sharpened and honed.
"Even if you have a low-quality knife, you want that low-quality knife to be the highest quality it can be," Bob said, "it's important to care for you're knives—no matter if you have a $200 knife or a $30 knife."
To learn more about how to sharpen your knife by hand and use a whetstone, read on here!
What are some of your favorite knife care tips? Tell us in the comments below.
No dull blades here! We're reposting this article from April 11, 2016 so you can refresh your knife knowledge.
https://food52.com/blog/16536-9-knife-care-tips-we-learned-from-a-master-bladesmith